In a kitchen, tile grout tells the story of a room before the units even do. Grout that yellows behind the hob, another that darkens beneath the splashback: it is the splash and steam zones that mark the fastest. The cleaning method depends on the condition of the grout, its composition, and the material of the tile that surrounds it.
Identify the nature of the grout first of all
Before you scrub, look. The majority of kitchen grouts are tinted cement, sometimes epoxy on recent projects. The two do not react to the same products. Cement grout is porous, it absorbs grease and discolours from below. Epoxy grout stays more stable but can dull on the surface. Rub a discreet corner with a damp cloth: if the tone lightens slightly, you are dealing with surface-soiled cement grout, which will respond well to gentle cleaning. If the tone does not move, the soiling is deeper, or the grout is epoxy and calls for a specific approach.
Gentle methods for regular care
For lightly marked grout, bicarbonate of soda remains the benchmark. Mix three tablespoons into half a glass of lukewarm water until you obtain a thick paste. Apply with an old soft toothbrush, leave it for ten minutes, then rinse with clean water. Liquid black soap also suits weekly care, diluted in a bucket of hot water. Avoid neat white vinegar on cement grout: its acidity slowly dissolves the binder and weakens the structure of the tiling. Always dilute it, half and half with water, and use it no more than once a month.
Strong methods for heavily soiled grout
When bicarbonate is no longer enough, sodium percarbonate takes over. More alkaline, it oxygenates the stains without attacking the cement. Dilute two tablespoons in half a litre of hot water, apply generously, leave to work for fifteen minutes. For grout blackened by mould, near the sink or behind the hob, a solution of bleach diluted to 10% works on the spot, but it also whitens the grout around it. The result is quick, not always even. On badly degraded grout, it is better to consider renovation: scraping with a blade, dust removal, and re-grouting with fresh mortar.
Products to avoid, products to favour
- Bicarbonate of soda paste with a soft toothbrush, safe on any grout
- Bleach diluted to 10% as a spot treatment, never on a continuous surface
- Neat white vinegar banned on cement grout, diluted half with water at most
- Soft brush or old toothbrush, never an abrasive metal sponge
- Immediate drying after rinsing to prevent grease re-fixing
Adapt the method to the tile material
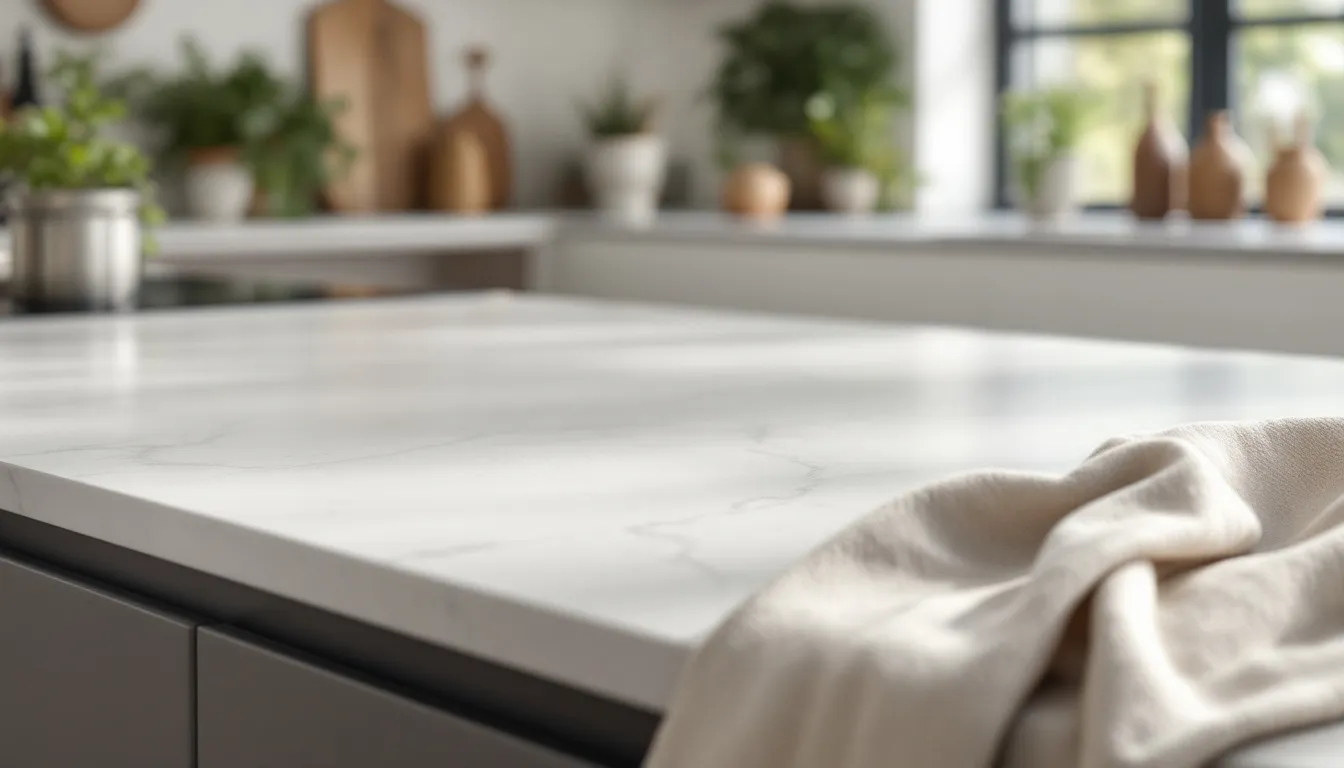
The tile influences the method. On glazed porcelain stoneware, you can scrub without fear. On terracotta or a cement tile, acid is forbidden, and even bicarbonate must be measured out. Marble or natural stone surfaces, sometimes used as a splashback, demand a pH-neutral cleaner exclusively, following the same precautions as a marble worktop. An aggressive detergent marks the material permanently. If you are in doubt, always test on a spare tile or an inconspicuous corner before going wider.
In the end, cleaning grout remains a work of adaptation: to its composition, to its condition, and to the material that surrounds it. Reserving tiling for less exposed areas and testing each product on a discreet corner remains the surest way to avoid irreversible damage.
Going further
The logic holds beyond grout: the fewer porous surfaces a kitchen multiplies, the less care it demands. That is the whole point of a kitchen designed to stay clean day to day, where the choice of materials does half the work before the first sponge.